Colored Glue
A cheap, low-prep art project that sneaks in real fine-motor practice. All you need is glue, food coloring, and a long Houston summer afternoon.
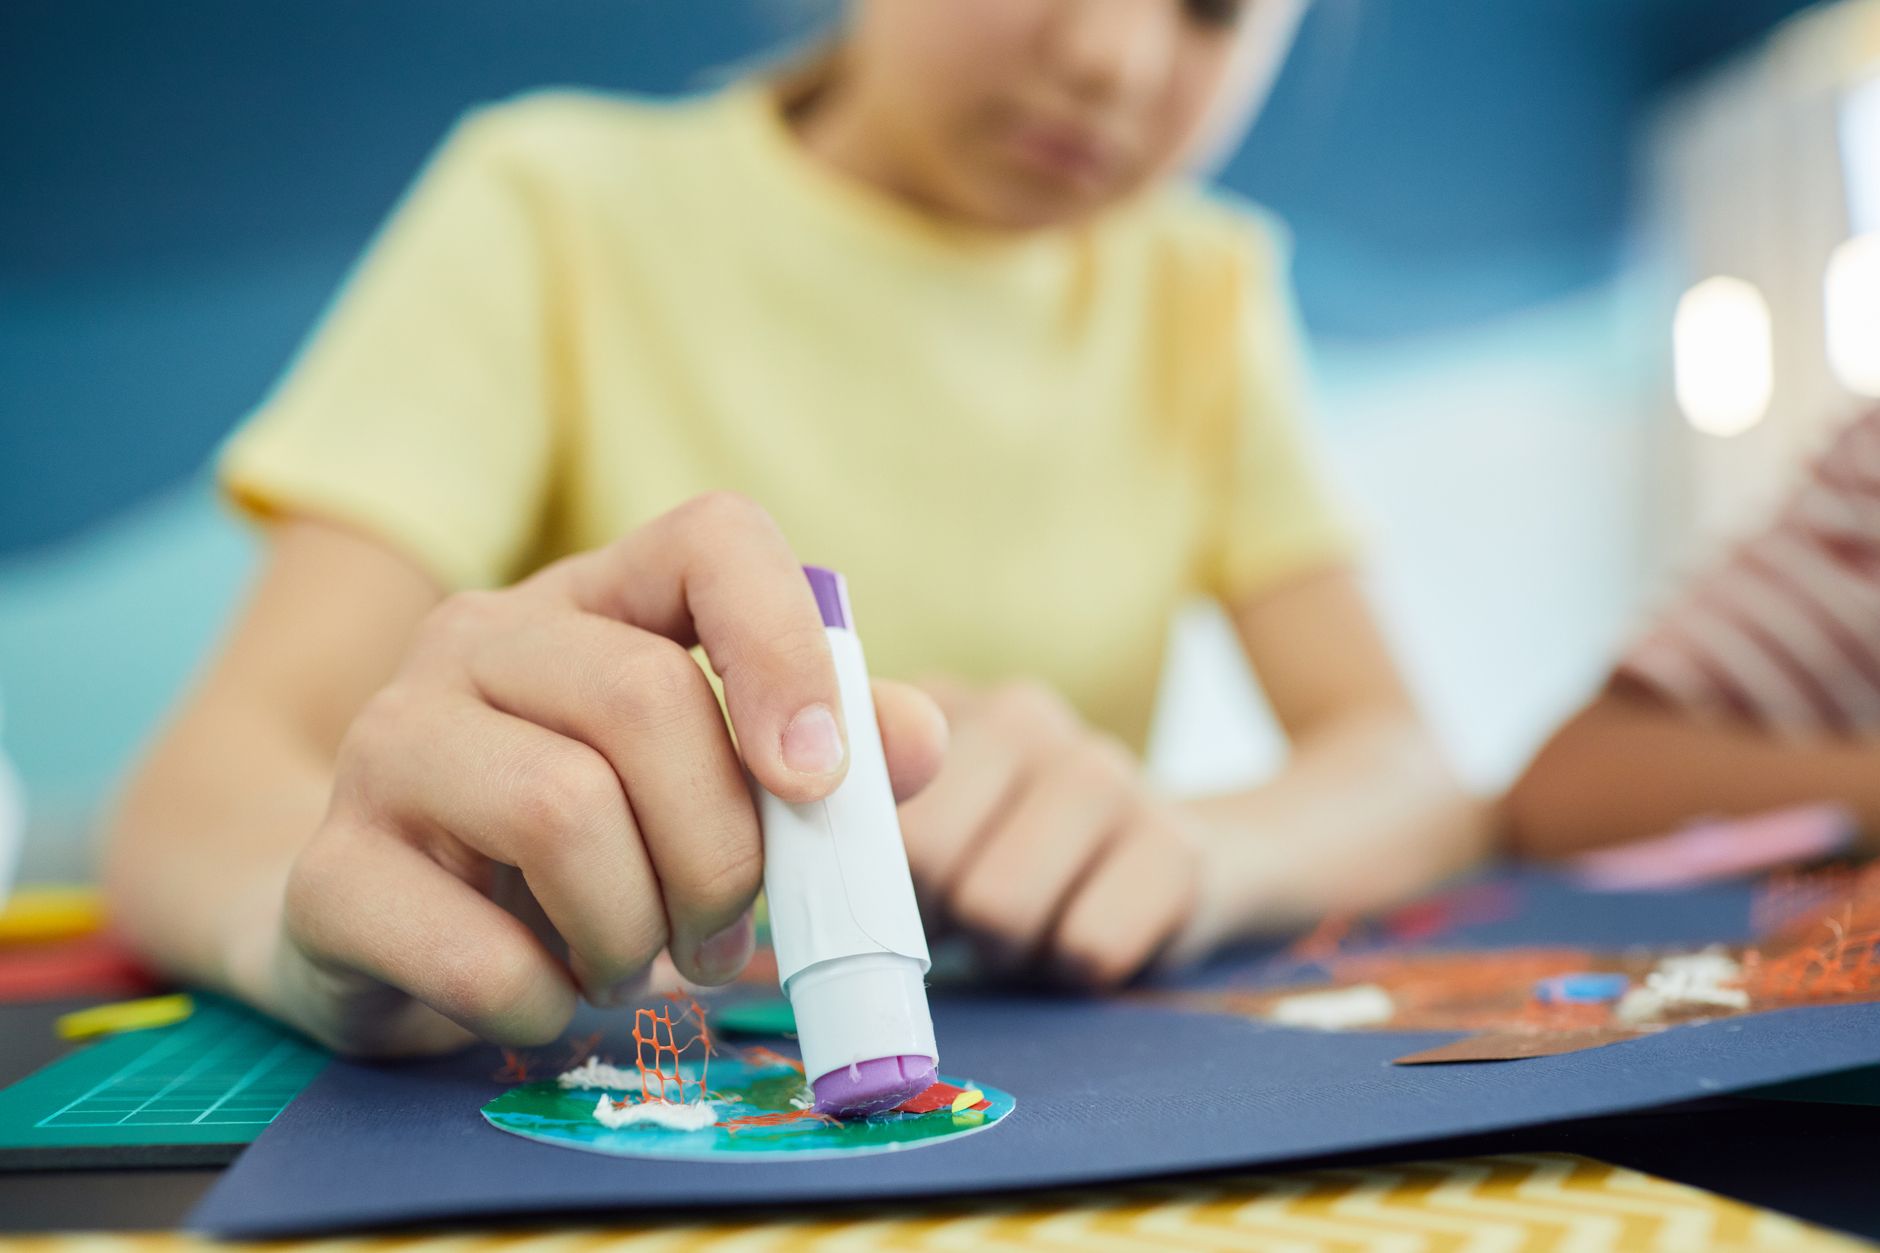
Some of the best rainy-day and beat-the-heat activities are the ones already sitting in your craft drawer. Colored glue is exactly that kind of project. You squeeze a few drops of food coloring into a bottle of white school glue, shake, and suddenly a boring supply becomes something kids want to draw with. It costs almost nothing, takes two minutes to set up, and keeps little hands busy on those long Houston afternoons when it is too hot or too stormy to play outside.
What I like most is that it does not feel like "practice" to a kid, even though it is. Squeezing a glue bottle is genuinely hard work for small hands. Controlling how much comes out, starting and stopping the flow, and steering a thin line all build the same hand and finger strength your child will later use to hold a pencil and (eventually) to manage a ketchup or shampoo bottle without flooding the plate.
What you need
- A few bottles of white school glue (the squeeze kind, not a glue stick)
- Food coloring, liquid watercolors, or watered-down washable paint
- Card stock or another thick paper (regular printer paper buckles under wet glue)
- A tray, placemat, or old newspaper to catch drips
Back-to-school season is the cheapest time to stock up. Glue goes on deep discount in late summer at the big-box stores, and a basket of bottles will outlast a dozen craft sessions.
How to make colored glue
- Open a bottle of white glue and squeeze a little out so there is room to mix.
- Add a few drops of food coloring straight into the bottle.
- Cap it tightly and shake until the color is even. Make one bottle per color.
- Hand the bottles over and let your child draw, write, or scribble right onto the card stock.
- Set the artwork somewhere flat and out of reach to dry. Thick glue lines can take a full day, so be patient before hanging it up.
The dried result is shiny and slightly raised, which kids love to run their fingers over once it sets.
Ways to play, by age
This one stretches nicely from toddlers through early elementary. For a 2 or 3 year old, skip the rules entirely and let them squeeze and scribble. The squeezing itself is the whole point. Around 4 and 5, turn it into gentle learning: have them write their name, trace shapes, or fill in a simple outline you draw first. Older kids can blend two colors on the page, then tip the paper side to side and watch the glue puddles run together.
Parent tip: If the bottle is too stiff for little hands, pour the colored glue into a small bowl and offer cotton swabs, a pipette, or a cheap paintbrush instead. Same art, way less frustration, and it gives you a calmer, quieter version of the activity.
Level it up: salt painting
Once your child has the hang of glue lines, try the salt-painting trick on a different afternoon. Draw a design with plain white glue, sprinkle table salt over the wet lines, then gently shake off the extra. Now touch a watercolor-loaded brush to the salty lines and watch the color travel and spread along the path. It is part art, part science, and the "how does the color move?" reaction is worth the small mess.
Heads up: Colored glue is not edible, so this one needs a little supervision with toddlers who still mouth things. If you want a truly taste-safe project for the under-3 crowd, our edible play dough is the safer pick. And lay down a tray first: dried glue lifts off most surfaces, but food coloring can stain clothes and grout.
When the masterpiece is done, it is fridge-worthy or grandparent-mail worthy. Looking for more low-cost ways to fill a day indoors? Try a tape race track, watching caterpillars grow, or browse our roundup of things to do with toddlers at home.
Frequently asked
The kidfun editorial team field-checks every guide against its official source before publishing.